Epoxy floors are one of the most popular commercial flooring trends and will continue to remain that way because of their affordable pricing, durability, and high shine. Because it’s such a popular trend, it’s important to do your research into the most reputable companies with a variety of experience because one of the most common problems is when the floor isn’t properly applied.
It’s important to note that if epoxy is not installed correctly, it’s challenging to remove and you could be left with a floor that didn’t turn out how you planned.
The most important note you can take from this: do your research, and leave it to the experts.
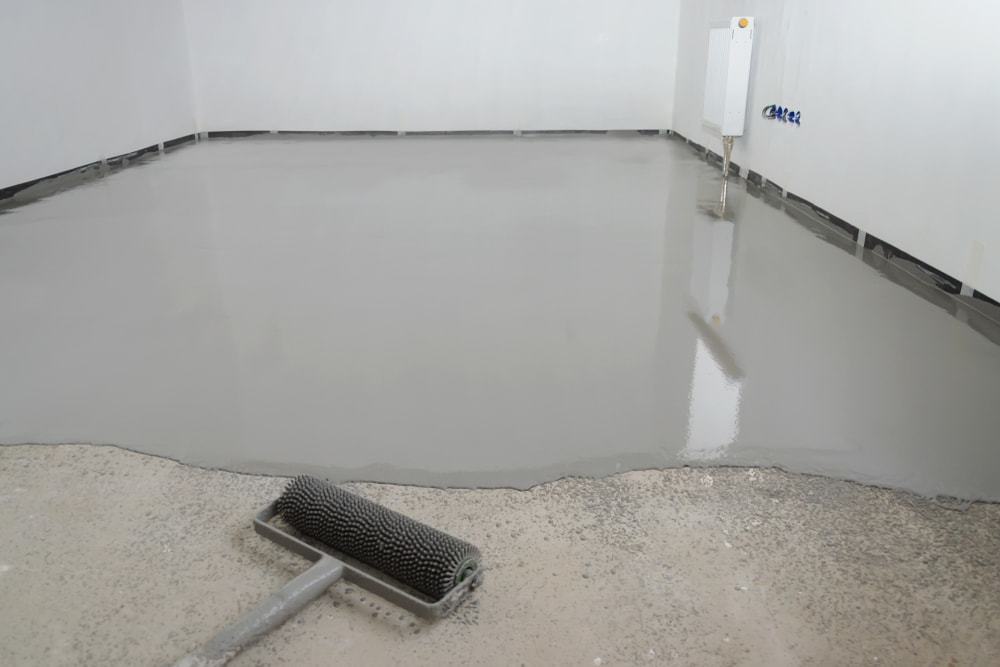
So, what are the most common problems when it comes to epoxy floors and how can you make sure to avoid them?
Assuming epoxy is just a paint
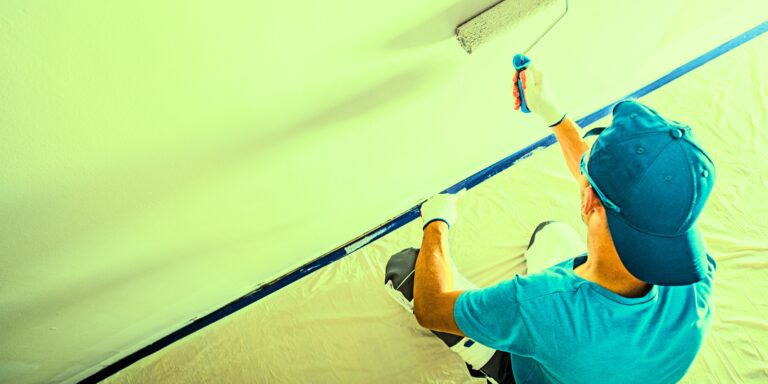
While epoxy is a coating that goes over an existing floor subsurface, it is a special blend of ingredients that causes a chemical reaction that then produces a product with extreme durability and strength. Many times you’ll see products labeled as “epoxy paint.” This is misleading and where many DIY’ers go wrong.
Peeling floors
There are a few factors that can cause the epoxy to peel from your floors. One of the most common is improper preparation of floors and the environment. As noted above, epoxy requires some knowledge of the chemicals involved and the process. A concrete floor MUST be properly prepped and an adequate substrate profile has been achieved through mechanical grinding with aggressive diamond tooling or via shot blasting.l. In addition to this, epoxy should be applied within the “ideal” environmental conditions recommended by the manufacturer. The weather needs to be just right to guarantee the resin applies without any issues. If you have a climate-controlled environment, talk with a professional to see what the best temperature is.
It’s essential to note that epoxy won’t adhere to a smooth surface. That means even a brand-new concrete floor needs to be properly prepped. This process usually involves acid etching at a minimum, but your best bet is to grind the concrete.
Proper prep also includes preparing the concrete pores. A floor professional will know the ideal balance between profiling the surface and creating a surface that’s too porous.
Air bubbles
If the temperature and air conditions aren’t right, or your newly laid epoxy is in direct sunlight, you may notice air bubbles. Air bubbles can also be a result of not properly mixing the correct ratios of resin to hardener or if the mixture has been mixed too fast.
Moisture
Before applying epoxy, it’s always best to test the concrete slab’s moisture (Rh) level. Moisture can also build up underneath the epoxy coating if the floor is not completely dry after being mechanically profiled. In addition to moisture in a new slab, we worry about vapor pressure. New slabs typically have a vapor barrier that prevents water from migrating through the slab. If high moisture or Rh in the slab remains an issue, it is best practice to utilize a moisture mitigating primer that can withstand the Rh level of your slab. Without this step, you run the risk of bond failure over time.
Inconsistent color & uniformity
Epoxy can look inconsistent if proper prep wasn’t done, and it is mixed with any oil or grease that can cause discoloration. Another reason to leave epoxy to the professionals is that many times you’ll need more than one “kit” of epoxy, and if they’re mixed differently or just because they’re different batches there can be a difference in the look between the mixtures.
According to Penn Coat, Inc., additional reasons that may cause inconsistency and discoloration are:
- Exceeded the pot life: The pot life of an epoxy is how long it takes the combined resin and hardener to double in viscosity. As the term implies, hardener works to solidify the resin. If an installer waits too long to apply the epoxy, exceeding the pot life, the resin may not apply correctly. It will also have discoloration or yellowing. Even if the mixture seems workable, if it exceeds its pot life, it will likely turn out low-quality.
- Used the wrong hardener: Every resin needs the right balance of activator to harden. During application, the wrong type or amount of hardener will compromise the color and consistency of the final product. If your epoxy is the wrong color or has yellowed, the root of your problem may be an activator error.
- Chemical exposure: Carbon monoxide and other chemicals can react with new epoxy to discolor it. Depending on the type of chemical, your epoxy floor may become yellowed or turn other colors.
- UV Exposure: Sunlight or UV light causes the resin to darken, even if it’s already set. You may notice a pattern or shades of discoloration, depending on how often sunlight shines onto the resin. If your epoxy got exposed to direct sunlight during the application, you might see discoloration and air bubbles in the finished product.
To avoid discoloration, we can’t stress it enough, PROPER PREPARATION! If it’s a small area of the floor in just the first layer, a professional can typically fix this with bleach or steam and then a recoat. Depending on how deep the discoloring goes, resurfacing the floors may be an option, however, if it’s too deep, it’s best to ask a professional what your best options are.
If you find yourself running into any issues with your epoxy floor, or find anything that may seem unusual, reach out to get a professional opinion. From Indianapolis and Fort Wayne to Merrillville, Valparaiso, and Lafayette, our team is always here to help you answer any questions you may have. Make sure to reach out to us right here.

